
Remember our sneak peek for this month's Craft Night?


I only had the one side done, and it was mostly just to give our attendee's a picture.


Well this is how mine ended up turning out:

Eek! I love my new version! For some reason the witch legs just seemed like they were more "eek" than "boo." And it's only three letters... Anyway, it gives you another option, right?

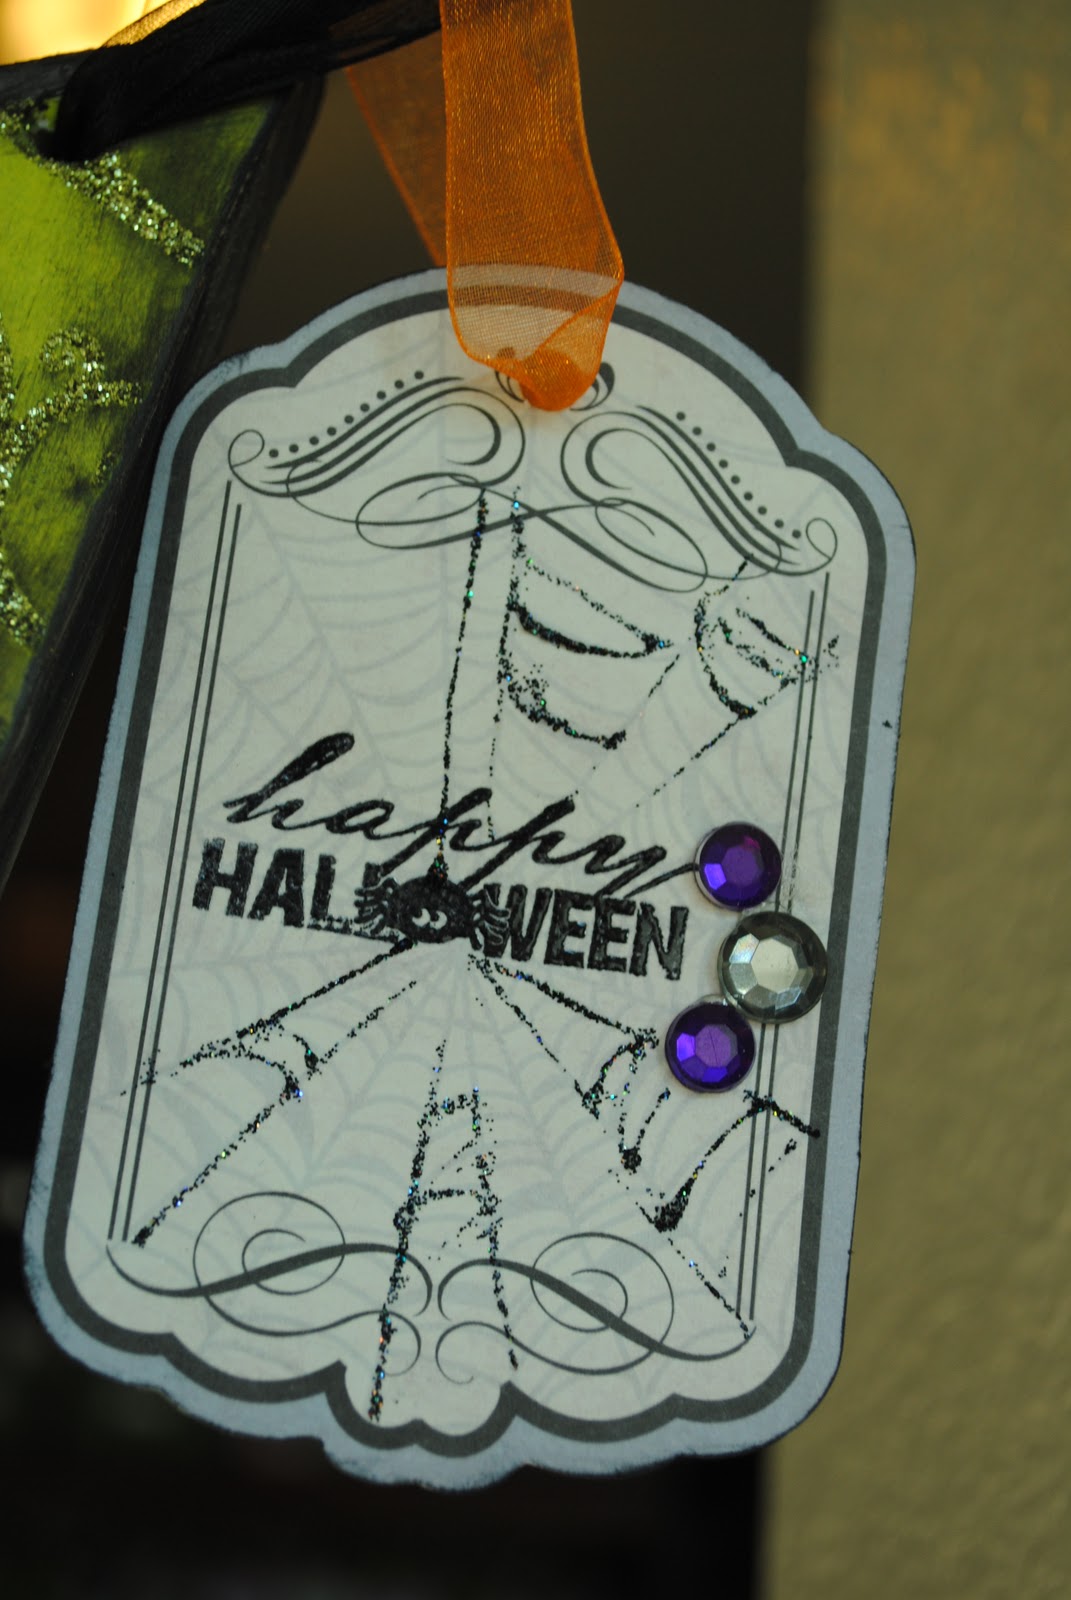
Here's tags I made to dress it up a little. I used scraps of leftover paper and rhinestones to jazz up what I already had. Plus stamps, glitter, and embossing powder. But you guys are crafter, you know.


Then I used a 3/8 drill bit to cut a hole in each corner, just eyeballing it. (By the way, using a drill bit like this will kind of make you feel ULTRA capable and superwoman-esque.)

This bit cuts cleanly through this cheap wood on one side,

but it will tear up the other side:

So here's my tip you only cut through until the tip barely cuts through like this:

Then you flip the board over, and drill through the other side:

Which will make another clean hole:

Then I painted the edges black:

And modge-podged Halloween paper onto one side:


We then added the letters for "BOO" and "JOY" and rhinestones to embellish them.


I also used the black paint to kind of distress the edges of the paper. And here's a couple more tags:

So here's my spooky final version:

And here's the Christmas side hiding out through the witch legs.

Sunday:
http://iheartnaptime.blogspot.com/, http://niftythriftythings.blogspot.com/
Monday:
http://craftomaniac.blogspot.com/, http://makingtheworldcuter.blogspot.com/, http://diyhshp.blogspot.com/, http://www.skiptomylou.org/, http://sumossweetstuff.blogspot.com/, http://marvelouslymessy.blogspot.com/, http://www.creatingreallyawesomefreethings.com/
Tuesday:
http://todayscreativeblog.net/, http://ladybug-blessings.com/, http://tipjunkie.com/, http://www.sugarbeecrafts.com/,
Wednesday:
http://somedaycrafts.blogspot.com/, http://www.bluecricketdesign.net/, http://www.mybackyardeden.com/, http://reasonstoskipthehousework.blogspot.com/
Thursday:
http://www.momnivores-dilemma.com/, http://www.houseofhepworths.com/, http://nightowlcrafting.blogspot.com/
Friday:
http://www.whipperberry.com/, http://sassysites.blogspot.com/, http://shabbynest.blogspot.com/, http://tatertotsandjello.blogspot.com/, http://www.tidymom.net/, http://www.findingfabulousblog.com/
Saturday:
http://www.bedifferentactnormal.com
8 comments:
So stinkin' cute!!
Thanks for your comment AND the awesome tutorial! I LOVE that your banner is two-sided!! So, very clever. I'm following your wonderful blog!
So cute! The witches legs are hilarious.
Oh my goodness! Love it too!
Great job!
Kerri
I love it - so whimsical, it's fabulous!
Oh I just love this! I thought your witch legs on the porch was great...but the half a witch in the ceiling is just too, too good!
Such fantastic Halloween decor !
You inspired me to award you with The Versatile Blogger Award. I invite you to stop on by http://alderberryhill.blogspot.com/2011/10/versatile-blogger.html to check it out when you get a chance.
Post a Comment